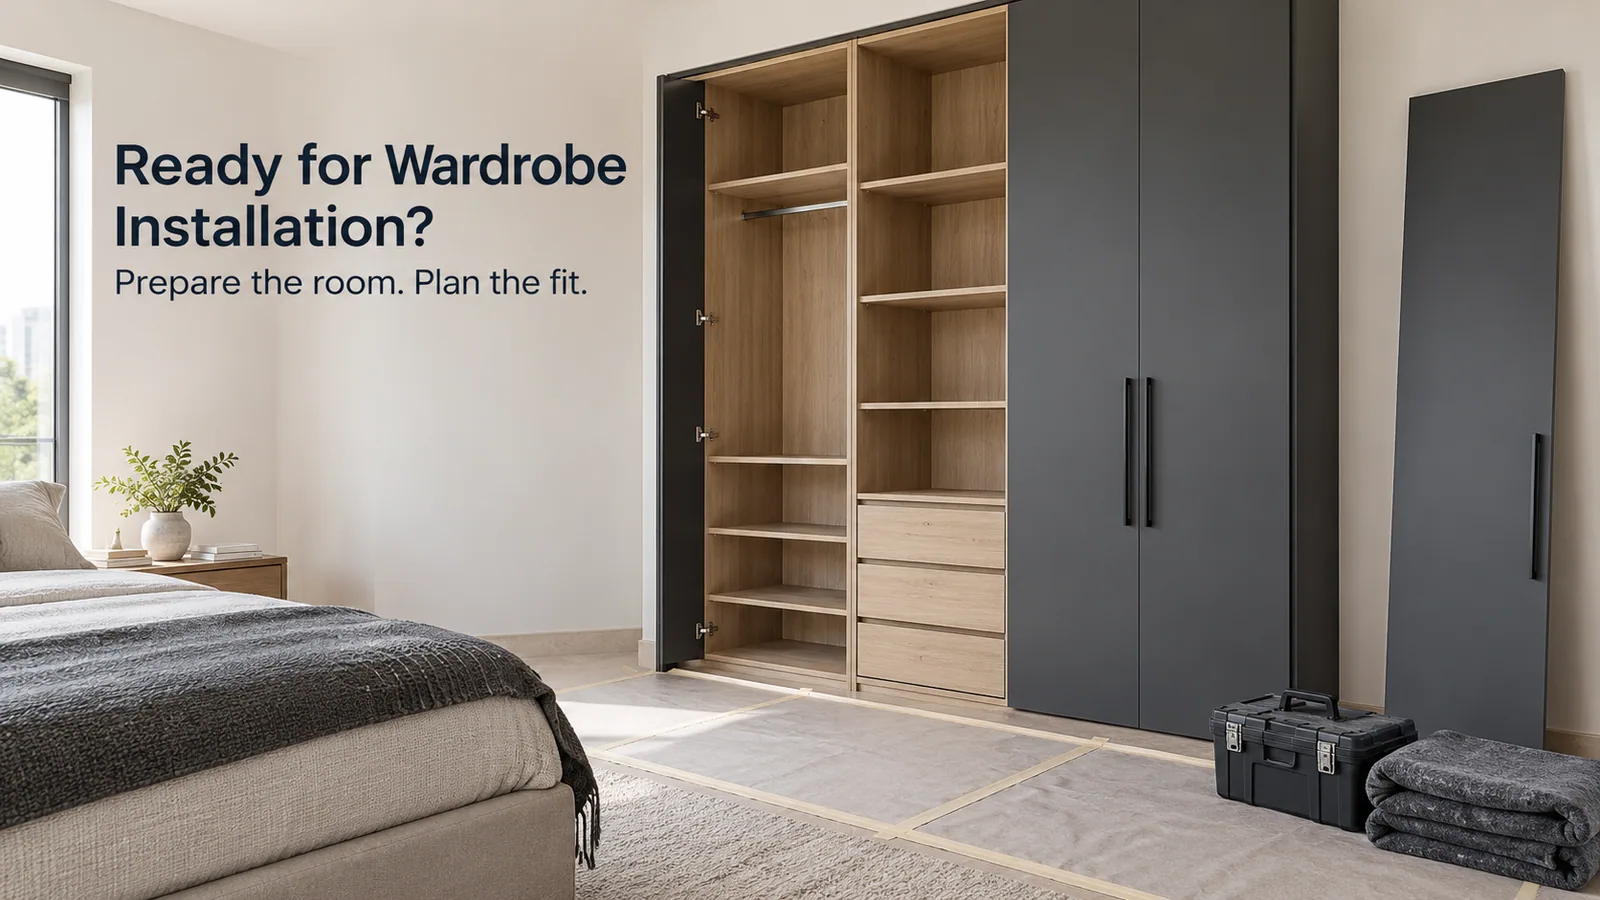
Modular wardrobe installation is the last step of a factory-built wardrobe: finished modules arrive at your home and are assembled, levelled, fixed to the wall, fitted with shutters and checked. Because the cutting, edge banding and drilling are done in the factory, the on-site work is mostly assembly and alignment. One or two wardrobes are usually fitted within a day or two; a full-home order takes longer and is planned as one installation window.
What decides a clean installation is the preparation before the team arrives and the checks you do before signing off. This guide covers both, with the timeline Reedify Modulars follows from measurement to handover.
The timeline, from measurement to handover
Stage | When | What happens |
|---|---|---|
Site measurement | Day 1 | The wall, ceiling, floor level and nearby switches are measured |
3D design and quote | Days 2–5 | You approve the layout, finish and a fixed, itemised quote |
Factory manufacturing | Days 6–40 | Panels are cut, edge-banded, drilled, checked and packed room by room |
Installation and handover | Days 41–45 | The team assembles, fixes, aligns and hands over |
Typical handover at Reedify is about 45 days from site measurement. The Reedify working model explains each stage in more detail.
How to prepare your room before installation
Finish the messy work first, so the new wardrobe isn't covered in dust or damaged:
Flooring and false ceiling done. The wardrobe is fitted to the finished floor and ceiling heights.
Painting done, with only touch-ups left for later.
Electrical points ready for wardrobe lights, and any switch on the wardrobe wall moved before installation.
Old almirah removed and the wall cleared of hooks and nails.
Damp checked. If the wall is shared with a bathroom or faces outside, fix any seepage first.
AC pipes and curtain rods routed so they don't clash with a loft.
Society permissions in place for the service lift, gate pass and working hours.
What happens on installation day
Unpacking and checking. Modules are labelled by room and checked against the approved drawing.
Assembling the carcass. The boxes that form the wardrobe body are joined.
Levelling. Most floors are not perfectly level, so the base is packed or adjusted until the wardrobe stands true.
Fixing to the wall. Each section is anchored so tall units cannot tip.
Filler and side panels. Gaps at the wall and ceiling are closed with matching panels.
Shutters and tracks. Hinged shutters are hung and adjusted; sliding tracks are fixed and doors set.
Internals and lights. Drawers, rails, accessories and any profile lights are fitted.
Cleaning and walkthrough. Protective film is removed and every door and drawer is tested with you.
Who installs the wardrobe, and why it matters
A wardrobe can be well made in the factory and still disappoint if it is fitted badly. Gaps, sagging doors and sliding shutters that drift are almost always installation problems, not material ones. That is why it matters who fits your wardrobe.
At Reedify, the same company that measures, designs and manufactures the wardrobe also installs it with its own team. The installers work from the approved drawing, and any correction goes back to the factory that made the part rather than being forced on site. If you are comparing makers, ask whether installation is done by their own staff or handed to a local contractor. The guide to choosing a wardrobe maker guide lists more questions to ask.
Hinged vs sliding wardrobe installation
Factor | Hinged wardrobe | Sliding wardrobe |
|---|---|---|
Space needed in front | Room for doors to swing open | Only walking space |
Floor and ceiling level | Small differences adjusted at the hinges | Tracks need a level line for smooth running |
Adjustment after fitting | Hinges adjust in three directions | Rollers adjust height; tracks are fixed |
Common issue if rushed | Uneven gaps between shutters | Doors that drift, jump the track or don't close fully |
For sliding wardrobe installation, the level of the top and bottom tracks matters most. Read sliding vs hinged wardrobes before you decide.
Installation in high-rise societies
Most NCR towers allow work only at set hours and deliveries only through the service lift. Reedify's modules are factory-finished and sized to go up in a lift, and installation is scheduled after the lift slot is confirmed. Tell the team at measurement if your society has special rules for weekends, noise or floor protection.
Handover checklist: what to check before you sign off
Shutters sit in a straight line with even gaps
Soft-close hinges and drawers close gently, every time
Drawers open fully and run without catching
Sliding doors run smoothly and close against the side panel
Locks work and you have all the keys
The wardrobe is fixed to the wall and doesn't move when pushed
Edges are sealed, with no chips, scratches or lifting edge band
Hardware brand matches the quote
Lights work and switch as planned
You have the warranty paperwork
Reedify's own cover on panels and workmanship is up to 10 years*, depending on the grade. Hardware warranty comes from the brand, and Reedify handles the claim for you.
Common installation problems and what causes them
Uneven shutter gaps: the base was not levelled, or hinges need adjusting. Hinges can be re-adjusted on site.
Sliding doors drifting open: the floor or ceiling is out of level and the track was not packed.
Gap at the ceiling: the false ceiling was finished after measurement. Share any ceiling change before production.
Swollen panels later: the wardrobe sits on a damp wall. Fix seepage before installation.
The first month after installation
Let the room air out for a day if the painting was recent, before filling the wardrobe.
Load heavy items low. Keep blankets and suitcases in the loft and heavy folded stacks in the lower shelves, not on a single long shelf.
Don't hang on the doors. Shutters and hinges are not made to carry weight such as bags on the handle.
Report small issues early. A shutter that has dropped slightly or a drawer that catches is a quick hinge or runner adjustment. Send a photo or short video on WhatsApp so the team knows what to bring.
Clean with a soft, dry or slightly damp cloth. Avoid harsh cleaners on gloss, acrylic or mirror shutters.
What wardrobe installation costs
At Reedify, installation is done by its own team as part of the wardrobe job, and the itemised quote shows what is included. Wardrobes start at around ₹1,200 per sq ft of front area, plus GST. A 7 ft wide, 8 ft tall wardrobe is 56 sq ft, so it starts at about ₹67,200 before GST. The wardrobe cost factors guide explains what raises the rate.
Plan your wardrobe and installation date
Send these to Reedify on a call or WhatsApp at +91 98120 53001:
A photo of the wardrobe wall and the wall width and ceiling height
Whether the flooring, false ceiling and painting are finished
Your preferred door type: sliding or hinged
Your society's lift and working-hour rules
The date by which you need the wardrobe
Reedify measures the room for free, prepares a 3D design and gives a fixed, itemised quote with the installation planned. Nothing is cut until you approve the design. See designs on the modular wardrobe page.