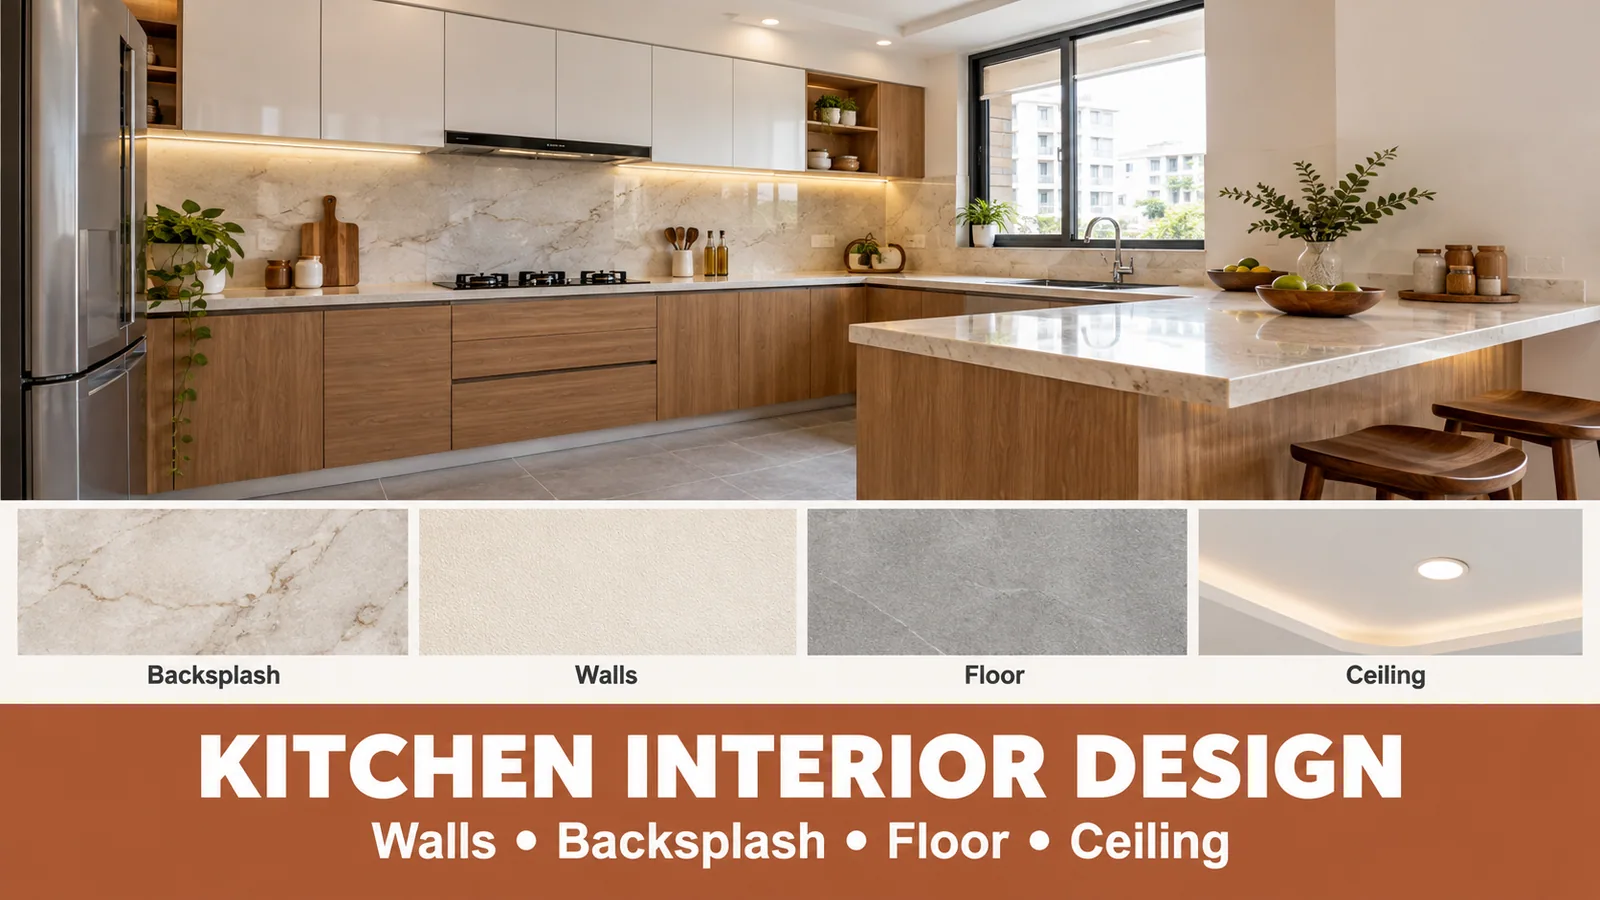

A window changes an L-shaped kitchen more than most people expect. It brings in daylight and fresh air, which every Indian kitchen needs — but it also removes a stretch of wall you were counting on for cabinets, and it dictates where the sink, hob and chimney can sensibly go. Plan the kitchen around the window from the start and you get a bright, well-ventilated space that stores everything it needs to. Ignore it and you end up with a cabinet that blocks half the glass or a chimney that fights the airflow. This guide walks through every window decision in an L-shaped kitchen: where it usually sits, sink versus counter beneath it, how to recover the lost storage, and how the window, chimney and light should work together.
Why a Window Changes How You Plan an L-Shaped Kitchen
In an l-shaped modular kitchen, your storage lives on two runs of wall. A window interrupts one of those runs — you lose the wall cabinets above it, and often part of the base run beneath it too. That trade is usually worth it, because natural light and cross-ventilation make a kitchen more pleasant and healthier to work in, and daylight makes finishes and food read true. The job of good design is to keep the light while giving back the storage elsewhere, and to place your wet and hot zones so the window helps rather than hinders them.
Where the Window Usually Sits in an L-Shape
In most Indian flats the kitchen window sits on the longer, outer wall — frequently above the counter where the sink or a prep zone naturally falls, and often facing a balcony, utility area or open shaft. That position matters because it decides which of your two runs loses its upper cabinets. Before finalising the layout, note the window's exact height from the floor, its width, and which direction it faces — all three feed directly into where the sink, hob and tall units can go.
Sink Under the Window vs Counter Under the Window
The classic choice is whether to place the sink under the window or keep it as an open prep counter. Both are valid; the right one depends on your plumbing, your view and how you cook.
Option | Works well when | Watch out for |
|---|---|---|
Sink under the window | You want light and a view while washing up; plumbing already runs to that wall | Water and steam on the glass — choose an easy-clean frame and a splash-friendly sill |
Prep counter under the window | You want a bright, open chopping zone; plumbing sits elsewhere | Leaving the brightest spot under-used if you rarely prep there |
Hob under the window | Generally avoid | Wind can disturb the flame and a chimney cannot vent effectively over an open window |
When to put the sink under the window
Placing the sink under the window is popular for good reason: you get daylight and a view while doing the least glamorous kitchen task, and the wall above the sink is one you would not fill with cabinets anyway. It works best when your plumbing already serves that wall — moving drainage across the room adds cost and complication. Use a low-maintenance window frame there, because splashes and steam are unavoidable, and keep the tap height clear of the opening sash.
When a prep counter under the window works better
If your plumbing sits on the other run, or you simply want your brightest counter reserved for chopping and plating, keep the window zone as an open prep station. This suits cooks who spend more time prepping than washing, and it avoids re-routing drainage. The one caution: do not then leave that bright counter empty — plan it as a genuine working zone with a knife rail or a slim pull-out nearby so the best light in the kitchen earns its keep.
One rule holds either way: avoid putting the hob directly under an openable window. A draught disturbs the flame and wastes gas, and a chimney cannot capture smoke effectively when the air is being pulled sideways out of an open window right beside it.
Planning Cabinets and Storage Around a Window
The real design challenge is the storage you lose above and around the window. A well-planned L-shape gives it back without cluttering the light.
Losing wall cabinets — how to make up the storage
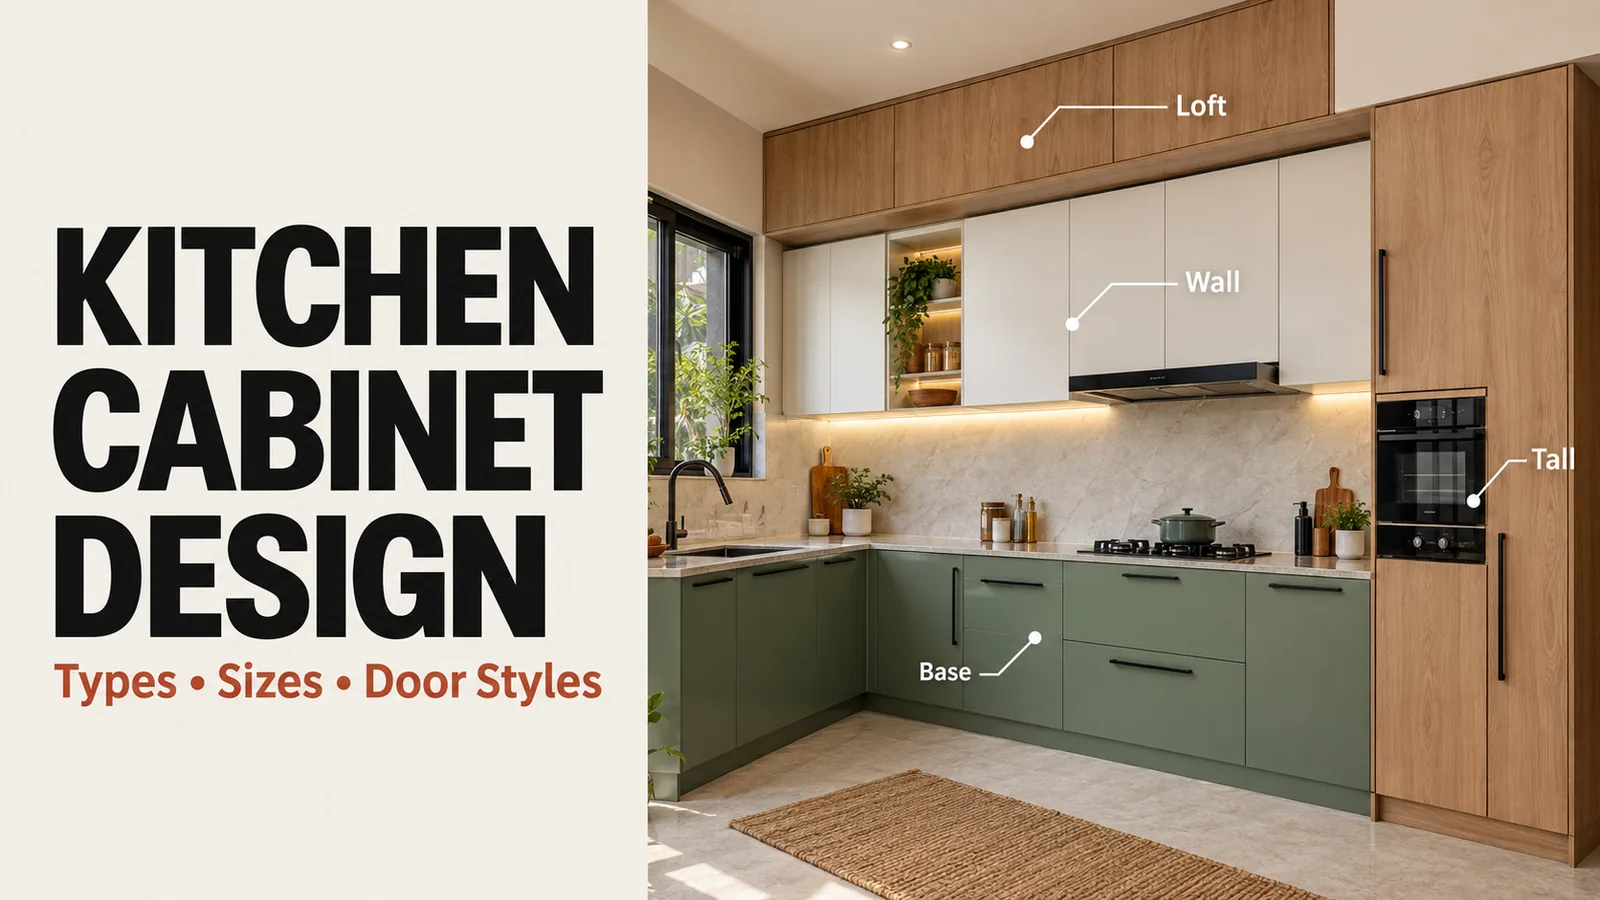
Go taller on the other run: take the wall cabinets on the windowless run all the way to the ceiling to recover the volume you lost above the glass.
Add a tall unit: one floor-to-ceiling pantry or appliance tower stores as much as several small cabinets and does not touch the window wall.
Use full-extension drawers in the base run: they hold more usably than deep shutters, offsetting any base cabinets sacrificed under a low window.
Frame the window with slim open shelves at the sides for jars and everyday items — storage that keeps the view open.
Exploit the corner properly with a carousel or pull-out so the L-corner carries more of the load.
If the window is so large that it leaves too little wall for the storage you need, that is a signal to reconsider the layout — sometimes a u-shaped modular kitchen or a straight modular kitchen with the window on the open side stores more comfortably. The layout should serve the window, not the other way round.
Ventilation, Chimney and the Window Working Together
A window and a chimney are partners, not rivals — if you plan them together. The chimney sits over the hob to capture smoke and grease at source; the window provides cross-ventilation that clears residual heat, humidity and cooking smells the chimney does not catch. Keep the hob and its chimney away from the open window so airflow does not fight the extraction, size the chimney to the hob width, and plan the duct route at the design stage so it exits cleanly instead of bending awkwardly around the opening. In a kitchen that faces a humid or dusty aspect, a fixed portion of glass with an openable section gives you light without leaving the whole kitchen exposed.
Light, Colour and Finishes for a Window-Side Kitchen
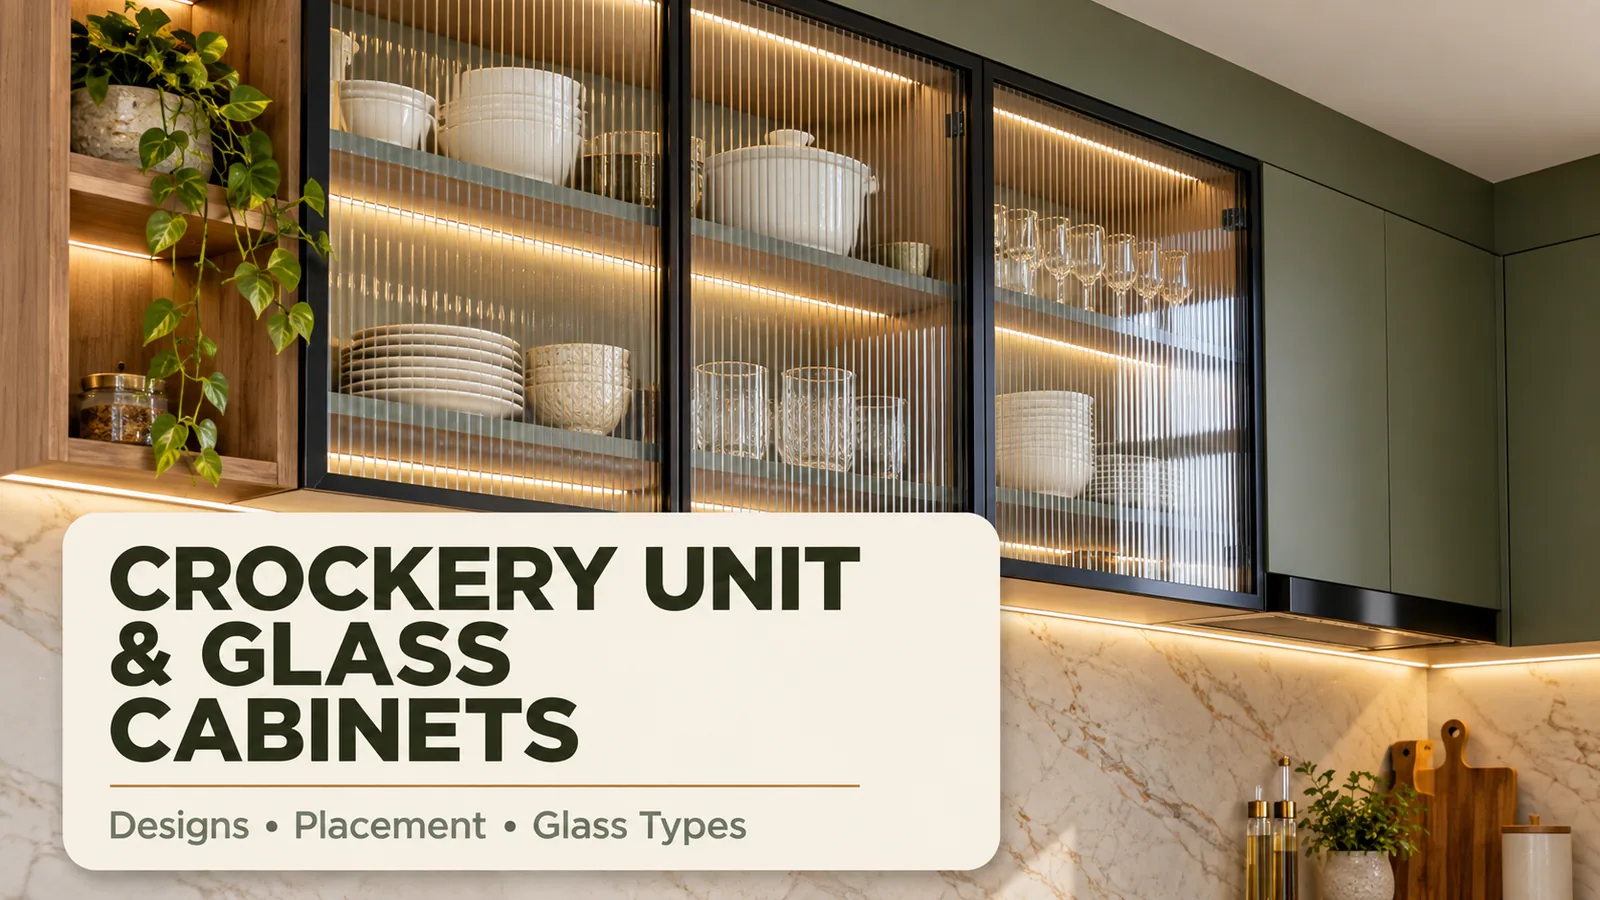
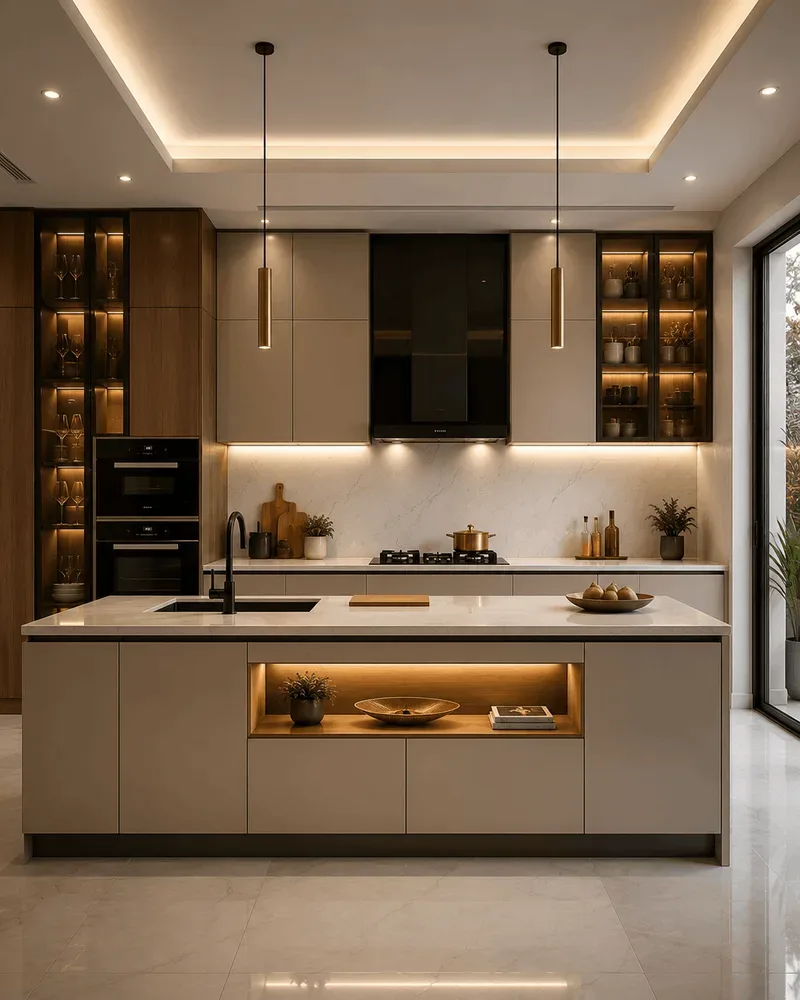
Daylight is a gift you can amplify or waste with finish choices. Reflective and lighter finishes bounce window light deeper into the room, so a compact L-shape feels brighter and larger; heavy dark cabinetry near the window absorbs it. Reedify offers six shutter and finish options — acrylic, laminate, PU paint, glass shutters, painted gloss and a plywood/HDHMR base — and near a window a light gloss or matt upper with glass-fronted cabinets on the shaded run spreads the light well. Remember that strong daylight is honest: it shows every fingerprint and every seam, so factory-cut panels with clean, consistent joins matter more in a bright kitchen than a dim one. For artificial light after dark, add under-cabinet LEDs so the window zone stays usable when the sun is gone.
Window Treatments That Survive a Kitchen
A kitchen window collects steam, grease and splashes, so fabric that cannot be wiped or washed will not last. Practical choices are easy-clean roller blinds, aluminium or PVC venetian blinds, or frosted or textured glass for privacy without curtains. Whatever you choose should clear the sink tap and any opening sash, and should be simple to take down and clean. Keep it minimal — the point of a kitchen window is light and air, and heavy drapery defeats both.
A Quick Vaastu Note on Kitchen Windows
Many Indian homeowners plan the kitchen with Vaastu in mind, so it is worth a practical note. Vaastu commonly favours a kitchen in the south-east, with the cook facing east while cooking and windows on the east or north to draw in morning light and air. These are traditional preferences, not engineering rules — the flat you own, its existing plumbing and its ventilation will constrain what is actually possible. Treat Vaastu as one input among several: where it aligns with good light and airflow, follow it; where the building layout makes it impractical, prioritise a kitchen that works. A good designer will tell you honestly which trade-offs are worth making.
Frequently Asked Questions
Related services & next steps