
If your kitchen is a tight corner in a 2 BHK builder floor or a compact apartment, the layout you pick matters more than the finish you choose. In a small kitchen, every inch either works for you or against you. The L-shape is usually the layout that works — it turns two connected walls and one awkward corner into a proper cooking zone without eating up the middle of the room. This guide is a practical, measurement-first walk through planning a small L-shaped modular kitchen: how small it can realistically go, how to stop the corner from swallowing your storage, and the finishes and tricks that make a compact kitchen feel larger than it is.
Why the L-Shape Is the Best Layout for a Small Kitchen
A small kitchen fails when movement and storage fight each other. A single straight wall gives you storage but a cramped, back-and-forth workflow. A U-shape gives you storage on three sides but can make a small room feel boxed in. The l-shaped modular kitchen sits in between: two runs of cabinetry on adjoining walls, a natural corner for the sink or hob, and the entire centre of the room left open. That open floor is what makes a small kitchen breathe — you can pull out a drawer, open the fridge and turn around without hitting a wall.
For most Indian flats, the L-shape also fits the room you already have. Builder kitchens are frequently laid out as an L around a service window or balcony door, so the layout follows the plumbing and the light instead of fighting them. If your kitchen is very long and narrow rather than squarish, compare the L against a parallel modular kitchen or a straight modular kitchen before you lock it — shape should follow the room, not a catalogue photo.
How Small Can an L-Shaped Kitchen Be? Real Dimensions
There is no single "minimum" size, because an L-shape is defined by the length of its two runs, not by a floor area. What matters is whether each run is long enough to hold its zone and whether you have clear floor to stand and turn. As a working guide for compact Indian kitchens:
Kitchen size | Typical run lengths | What it comfortably holds |
|---|---|---|
Very compact (approx. 5 x 7 ft) | Short run ~5 ft, long run ~7 ft | Sink + hob + a small fridge, minimal counter — best kept single-cook |
Compact (approx. 7 x 8 ft) | Runs ~7 ft and ~8 ft | Full work triangle, tall unit, decent prep counter |
Standard small (approx. 8 x 10 ft) | Runs ~8 ft and ~10 ft | Comfortable triangle, tall pantry, room for a breakfast ledge |
Two clearances decide whether a small L-shape feels usable rather than cramped. Keep at least 90–100 cm of clear floor in front of the cabinets so a person can stand at the counter while another passes behind. And keep a landing counter of at least 30–40 cm on both sides of the hob and sink, so hot pans and wet utensils always have somewhere to go. If a plan sacrifices these two things to add another cabinet, the cabinet is not worth it.
Because we build every kitchen to order at our own factory, the two runs are sized to your exact wall measurements after a site visit — not forced into standard modules that leave dead gaps. If you are planning a compact kitchen in an NCR flat, our team handling modular kitchen in Delhi projects measures on site before a single panel is cut.
Planning the Corner So You Don't Lose Space
The corner is the whole reason an L-shape can go wrong. Where two runs meet, the cabinets overlap and a deep, hard-to-reach void forms behind the join. In a large kitchen you can afford to lose it. In a small kitchen you cannot — that corner is often 15–20% of your base storage. The fix is planning the corner as a specific unit before manufacturing, not treating it as leftover space.
Corner hardware that actually earns its place
Carousel (lazy susan): rotating shelves that bring the whole corner to the front. Simple, sturdy and the most budget-friendly way to make a corner usable.
Le Mans unit: kidney-shaped trays that swing out and forward. It reaches deeper than a carousel and suits corners you use daily for heavy utensils.
Blind-corner pull-out: the full shelf set slides out toward you, so nothing gets lost at the back. Ideal when the corner is genuinely deep.
In a very tight kitchen, an alternative is to plan the sink into the corner and skip corner base storage altogether, keeping cabinets on the straight sections where they are easy to reach. The right choice depends on your run lengths and how you cook — which is exactly what should be decided at the design stage, not on site.
Storage Tricks That Add Space Without Adding Footprint
You cannot make a small kitchen bigger, but you can make it hold far more by using height and depth intelligently. The goal is storage per square foot, not just more cabinets.
Go vertical: tall units and cabinets up to the ceiling
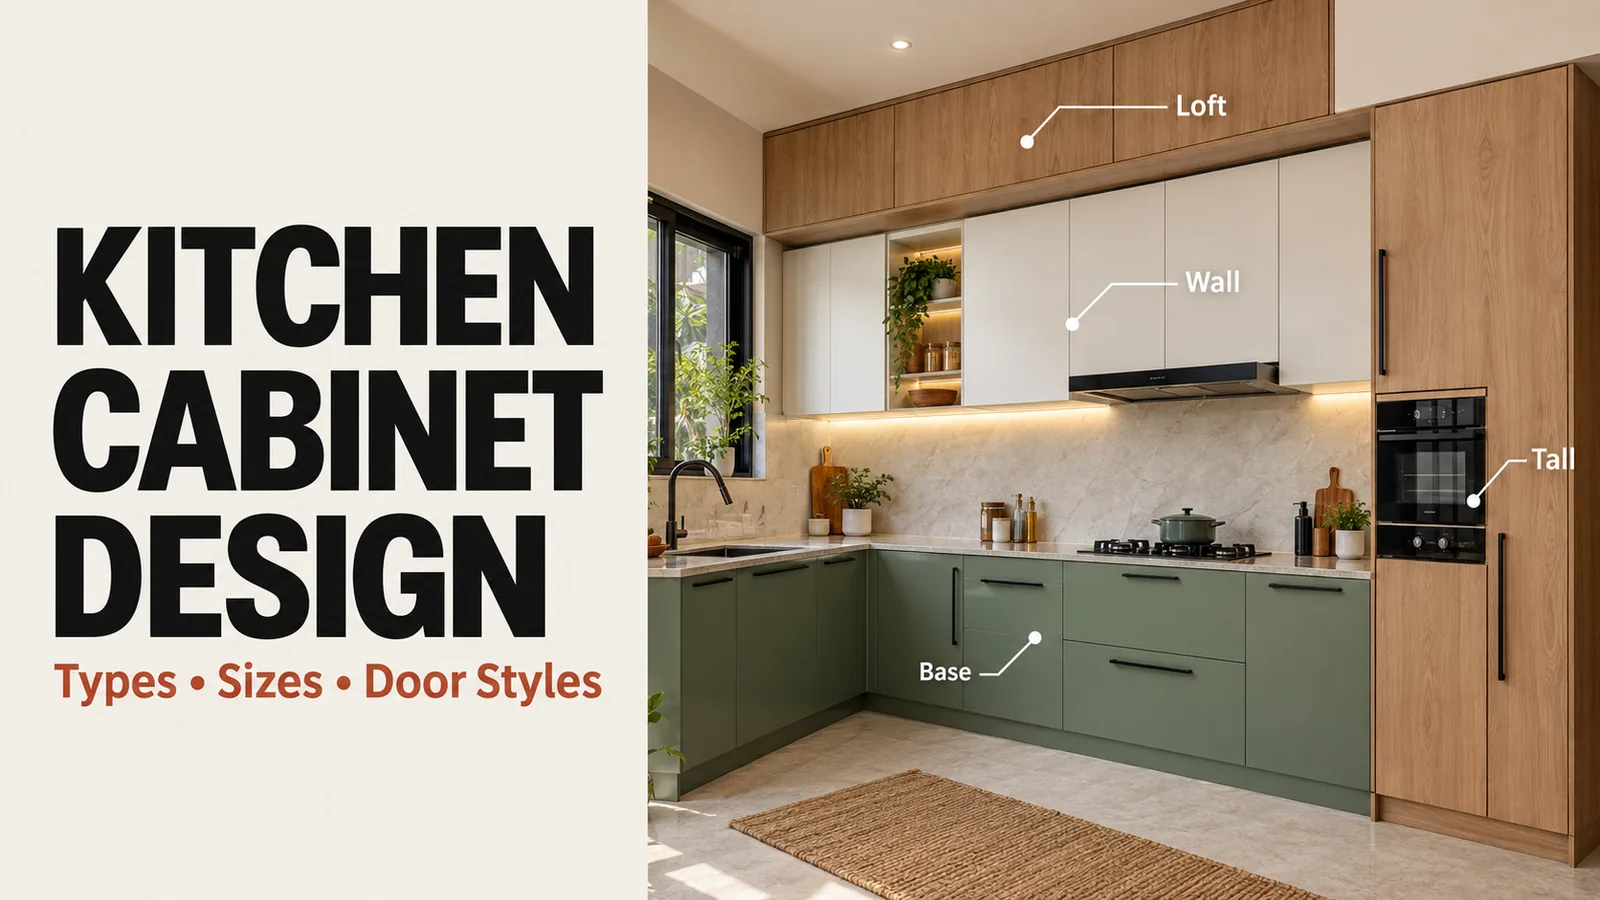
A floor-to-ceiling tall unit is the single biggest storage win in a small L-shape. One narrow tall unit can hold groceries, a built-in oven or microwave, and cleaning gear in the footprint of a normal base cabinet. Take wall cabinets all the way to the ceiling too — the top shelf stores rarely-used items, and closing that gap removes the dust-collecting ledge that makes small kitchens look cluttered.
Drawers over shutters in the base run
Deep base shutters mean bending, reaching and losing things at the back. Full-extension drawers bring everything to you and let you see the contents from above. In a small kitchen, drawers under the hob for pots and a tall pull-out pantry next to the fridge will out-store twice the shutter cabinets. Add a narrow bottle-and-spice pull-out beside the hob so daily-use items live within arm's reach and never crowd the counter.
Use the toe-kick (the recess under base cabinets) for shallow drawers to store flat trays and baking sheets.
Plan a slim appliance garage on the counter to hide the mixer, kettle and toaster behind a shutter — a clear counter reads as a bigger kitchen.
Hang a rail under the wall cabinets for ladles and mugs instead of using drawer space.
Finishes and Colours That Make a Small Kitchen Feel Bigger
Small kitchens respond strongly to light and reflection. Lighter shutters bounce light around and push the walls back visually; heavy, dark cabinetry closes a compact room in. That does not mean everything must be white — it means being deliberate about where light and dark sit.
Finish | Best use in a small kitchen | Trade-off |
|---|---|---|
Acrylic (high gloss) | Reflects light, makes a compact kitchen feel open and modern | Shows fingerprints; wipe regularly |
Laminate (matt or wood-grain) | Durable, huge colour range, easy on the budget | Less light bounce than gloss |
PU paint | Seamless, premium handleless look that avoids visual clutter | Higher cost than laminate |
Glass shutters (upper cabinets) | Adds depth and a light, airy feel on wall units | Keep to upper cabinets, not heavy-use base units |
Reedify offers six shutter and finish options — acrylic, laminate, PU paint, glass shutters, painted gloss, and a plywood/HDHMR base built for the load and moisture of a working kitchen. A practical small-kitchen scheme is light gloss or matt uppers with a slightly deeper tone on the base run, a handleless or slim-handle profile so nothing snags in a narrow walkway, and one continuous countertop colour to keep the eye moving. Every Reedify kitchen is backed by warranty support of up to 10 years*, so the finish you choose is built to last, not just to photograph well.
Lighting and Ventilation in a Compact L-Shape
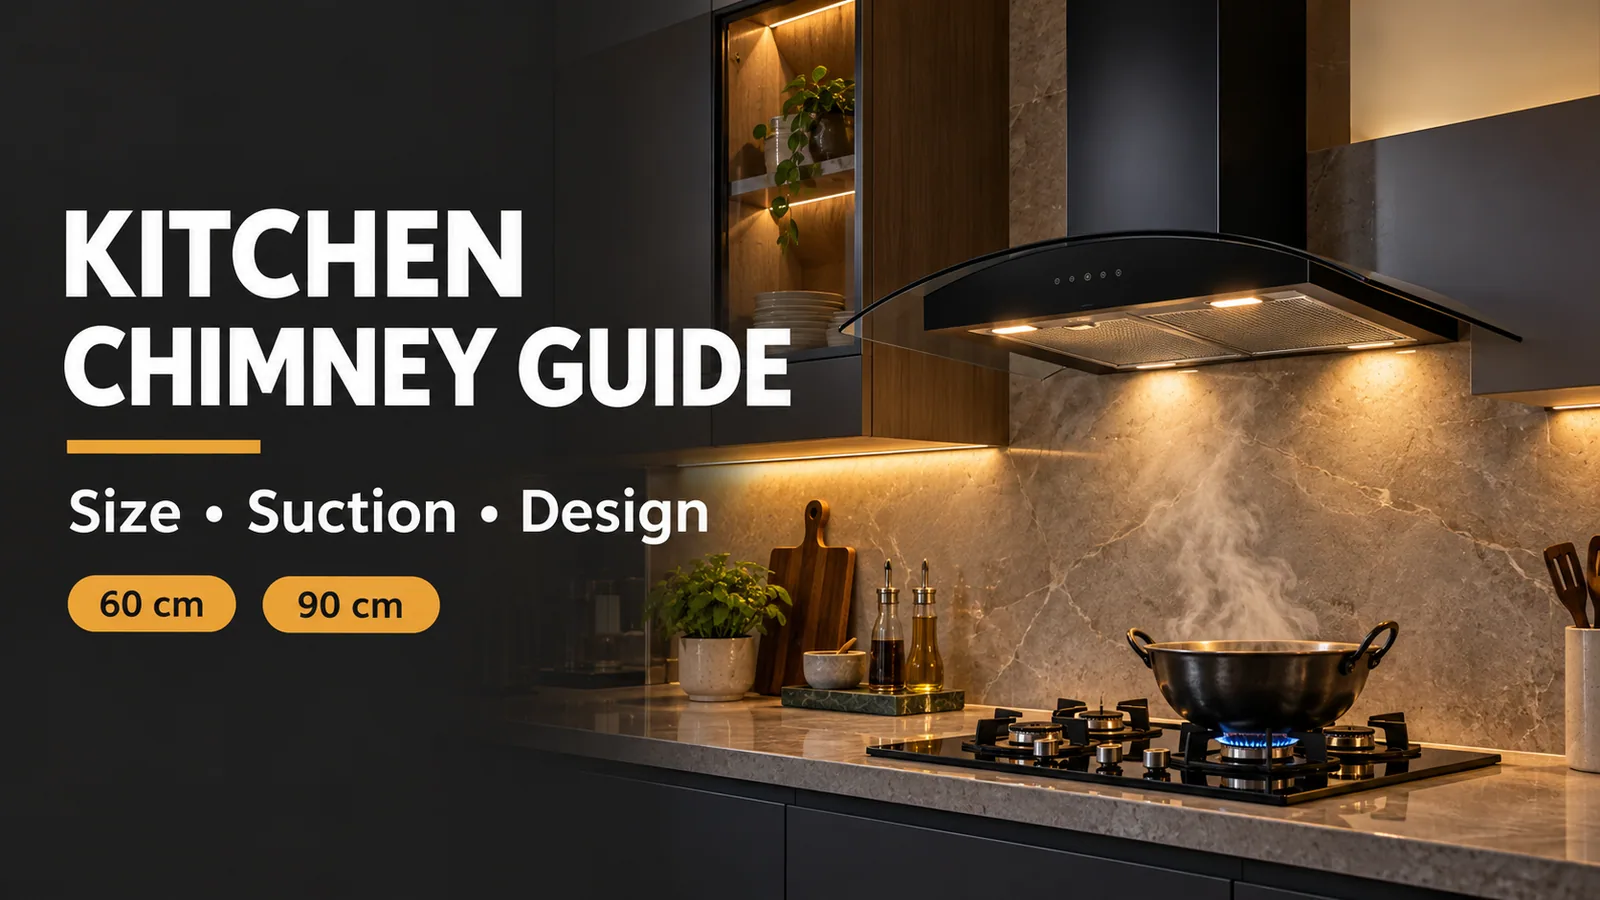
Good light does more for a small kitchen than an extra cabinet. Under-cabinet LED strips remove the shadow you cast on your own counter when the ceiling light is behind you — this alone makes prep safer and the room feel larger. Keep the ceiling light neutral-white rather than warm-yellow so colours read true while cooking. For ventilation, size the chimney to the hob and plan its duct route at the design stage; in a tight kitchen a poorly-placed chimney forces an ugly bend that collects grease and steals a cabinet.
Common Mistakes in Small L-Shaped Kitchens
Ignoring the corner until installation, then losing a fifth of your storage to a dead void.
Over-cabineting the walkway — squeezing in one more unit until two people can no longer pass.
All deep shutters, no drawers — cheaper upfront, but you lose usable storage to the unreachable back of every cabinet.
Dark, heavy finishes everywhere, which shrink a compact room visually.
Standard modules forced onto non-standard walls, leaving filler gaps that waste 4–6 inches you needed.
Most of these come from planning a small kitchen from a catalogue instead of from the actual room. The single best safeguard is a measured 3D design you can approve before anything is manufactured — you see the real corner, the real clearances and the real storage before you commit.
Frequently Asked Questions
Related services & next steps