

Most sliding wardrobe advice stops at “it saves floor space,” which is true and not very useful once you actually have to design one. The decisions that make a sliding wardrobe good or annoying are narrower than that: how many shutters you use, what runs them, which finishes suit a large moving panel, and how the interior is planned around the one rule sliding never escapes. This is a guide to those decisions.
How a sliding wardrobe actually works
A sliding wardrobe has shutters that travel sideways on a track instead of swinging out on hinges. Each shutter runs in its own channel, which is why they can pass one another, and why they never intrude past the frame into the room. Two consequences follow from that mechanism, and they shape everything else: the track takes up a little depth at the front, and the shutters overlap, so a section of the wardrobe is always covered.
The overlap rule, and why it drives the design
With two shutters, only half the wardrobe front is open at any moment. With three, roughly two-thirds. You can never see the whole interior at once, the way you can with hinged doors thrown open. This isn't a defect, it's the trade for the floor space you save, but it must be designed around rather than discovered later. The practical implication: everyday items should never sit in only one zone, or you'll be sliding panels back and forth every morning.
Shutters | Open at one time | Suits |
|---|---|---|
Two | About half the front | Standard bedroom wall; simplest and cleanest look |
Three | About two-thirds | Wider walls; better access to the middle of the run |
Four or more | Most of the run, in sections | Long wall-to-wall runs and larger master bedrooms |
As a rule, wider walls benefit from more shutters, because each panel stays a manageable size and more of the interior is reachable at once. Very wide shutters look dramatic but are heavier to move and put more demand on the track.
Tracks and rollers: the part that decides how it feels
The track and roller system is the hardware of a sliding wardrobe, and it decides whether the shutters glide for years or start to drag and jump. This is the component least visible in a quote and most felt in daily use, so it deserves a direct question: which system is being used, and is soft-close included? Soft-close on a sliding shutter stops it from slamming at the end of its travel and is worth asking for in writing.
Ask what the track system is, and confirm soft-close is in the price rather than an extra.
Heavier shutters, especially large mirror or glass panels, put more load on the rollers, so hardware grade matters more as panel size grows.
Keep the bottom track clean; dust in the channel is the most common cause of a sliding shutter that starts to stick.
Which finishes suit a sliding shutter
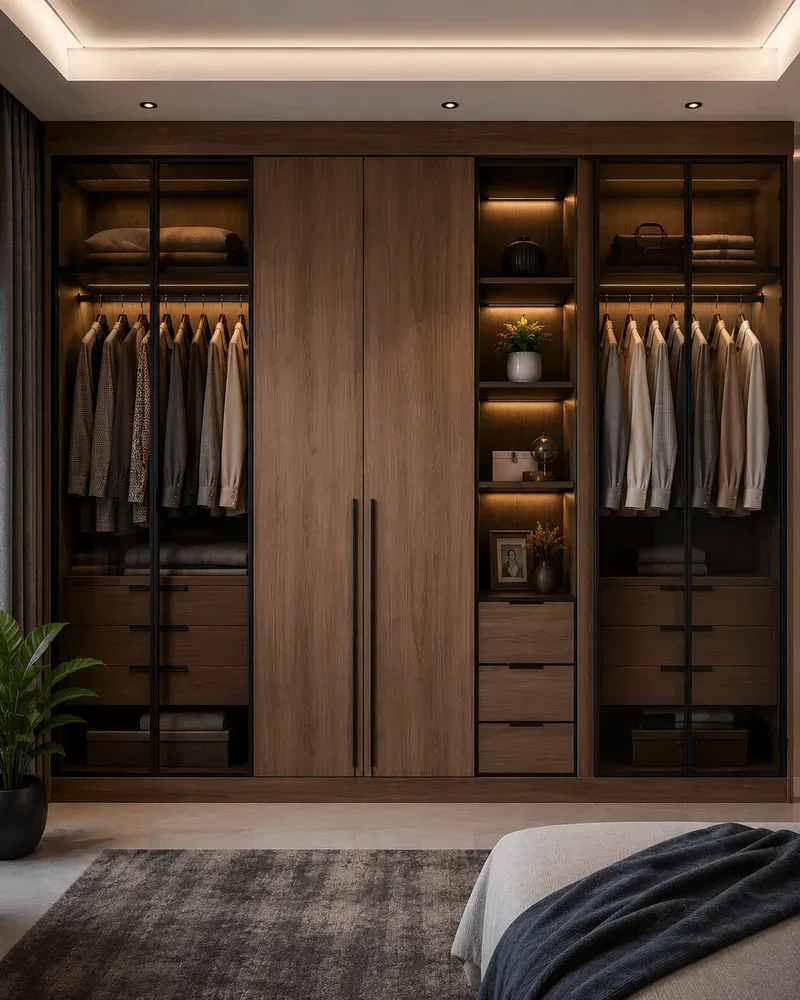
A sliding shutter is a large, uninterrupted surface, so the finish reads more strongly than it would on a narrow hinged door. Laminate is the practical all-rounder, durable and available in the widest range of designs. Acrylic gives a bright high-gloss face that suits modern bedrooms but shows fingerprints on a panel you push every day. PU gives a smooth painted, seamless look. Glass and mirror shutters do a second job entirely, reflecting light back into the room, which is why a wardrobe with a mirror shutter is so common in sliding designs. A warm wooden-texture wardrobe finish reads well across a large panel too.
Planning the interior behind sliding shutters
Because the front is never fully open, the interior wants a slightly different logic. Spread daily-use items, hanging, everyday drawers, across both halves rather than concentrating them behind one panel. Keep rarely-used storage, luggage, seasonal bedding, in the loft above, where access frequency doesn't matter. Adjustable shelves help here more than usual, because you may want to re-balance zones once you've lived with the access pattern for a few months.
What goes wrong, and how to avoid it
Shutters that stick: usually a dusty bottom track, occasionally poor roller quality. Clean the channel; buy decent hardware.
Daily items stranded behind a fixed panel: an interior planned without the overlap rule in mind.
A panel that feels heavy: very wide shutters with a weak track system.
Uneven gaps at the edges: a wall that isn't plumb, which factory-cut panels and on-site scribing should correct at installation.
How Reedify builds a sliding wardrobe
Each unit is measured on site, designed and approved in 3D against a fixed itemised quote, then manufactured in Reedify's own Rohtak factory and installed by its own team, so the shutter sizes, track run and interior are planned to your exact wall rather than a standard size. Carcass options are plywood and HDHMR, with laminate, acrylic, PU, glass, mirror and wooden-texture finishes. Warranty support depends on the board, hardware and brand terms you choose and can extend up to 10 years*. If your wall is unusual, a custom wardrobe is sized to the space instead of fitted from a block, and the wider modular wardrobe options are worth comparing before you lock the type.


